Tag Archives: bake

Make: Hot cross doughnuts

I do love a hot cross bun. They remind me of my childhood and being late for school on still dark, not quite spring mornings when my mother would prepare breakfast to go- a hot cross bun with a small hole cut into the side with jam squirted inside it, just like a doughnut. Wrapped up in a little kitchen paper parcel these would then be eaten on the journey to school to save time.

Now i’ve never made hot cross buns before, neither have I ever attempted doughnuts before. These took a couple of attempts to get the recipe just right, but the results were well worth it. Hot cross buns are being baked all over at the moment so I wanted to try something a little different, with a pinch of nostalgia…

ingredients

To Make 8 hot cross doughnuts you will need……

For the dough:

  • 325g plain flour
  • 1 teaspoon of mixed spice
  • 30g sugar
  • 5g salt
  • 30g butter – at room temperature
  • 1 egg yolk
  • 10g dried fast action yeast
  • 200ml warm water
  • 60g dried fruit, (I used raisins and sultanas)
  • the grated zest of a lemon

for the hot cross top:

  • 2 tablespoons of flour
  • 4-5 teaspoons of water

for cooking:

  • 1 litre of light oil, vegetable or sunflower

to finish:

  • 250g caster sugar
  • 1 teaspoon of cinnamon
  • raspberry jam

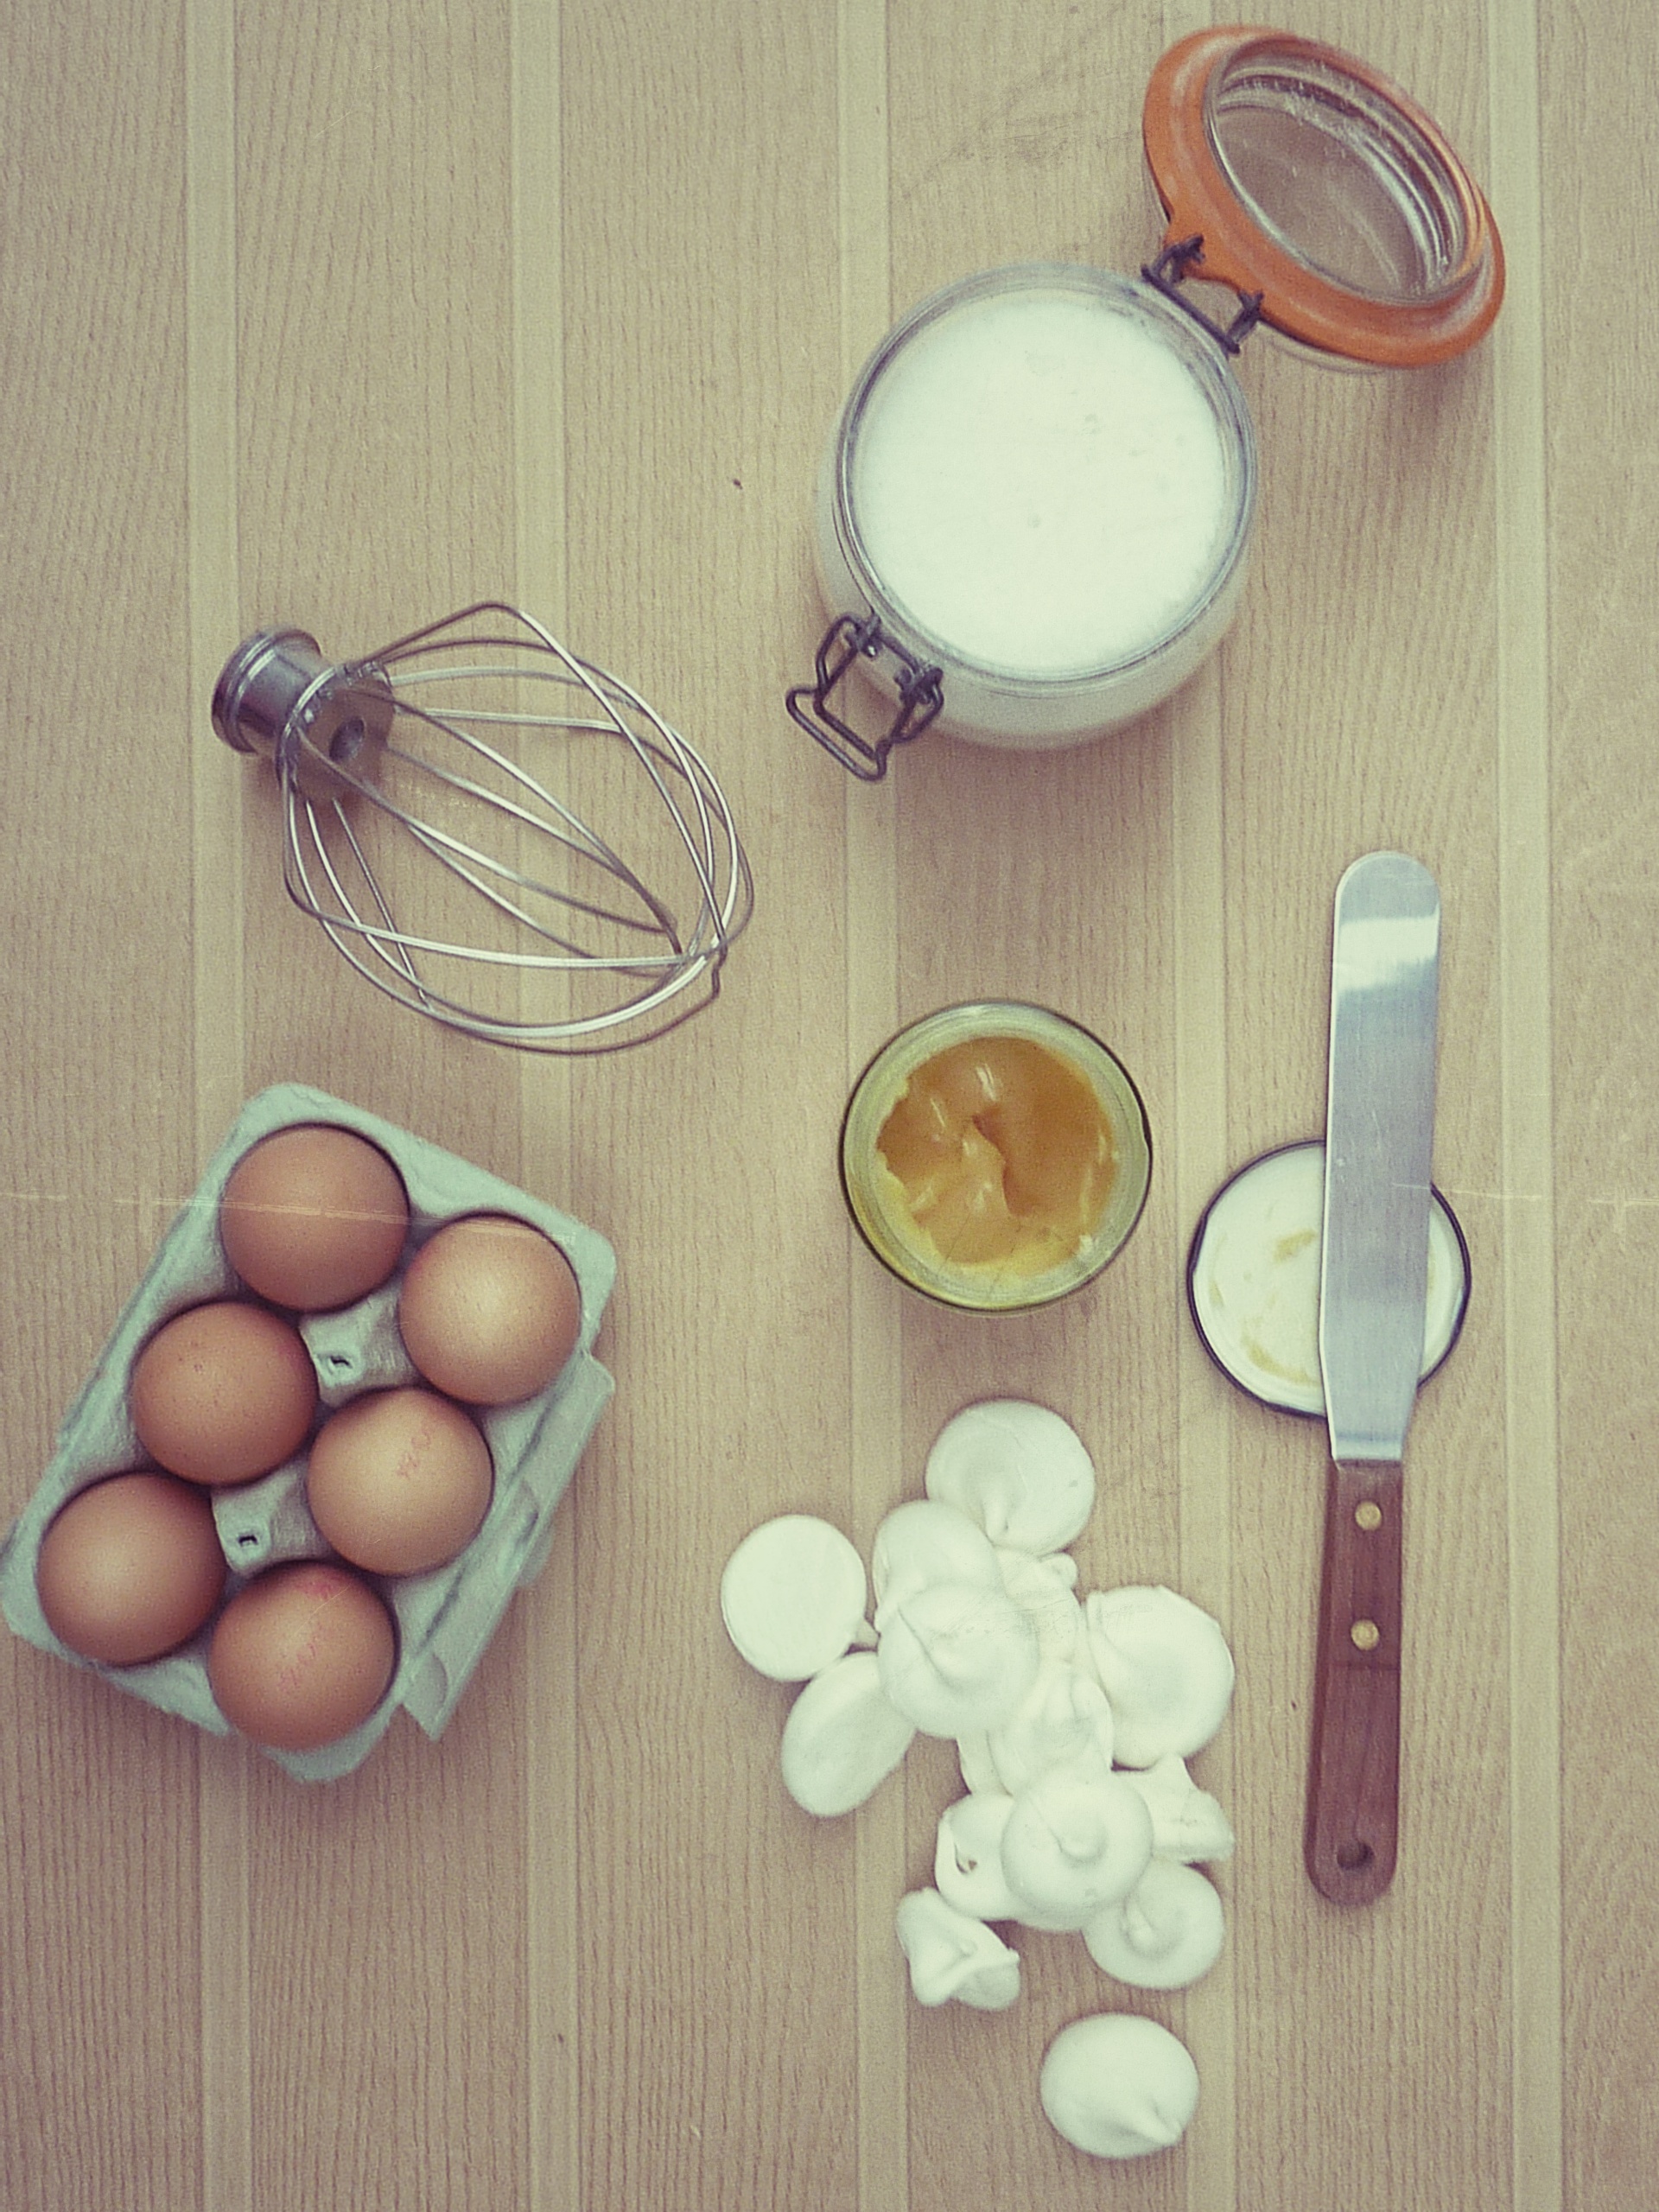
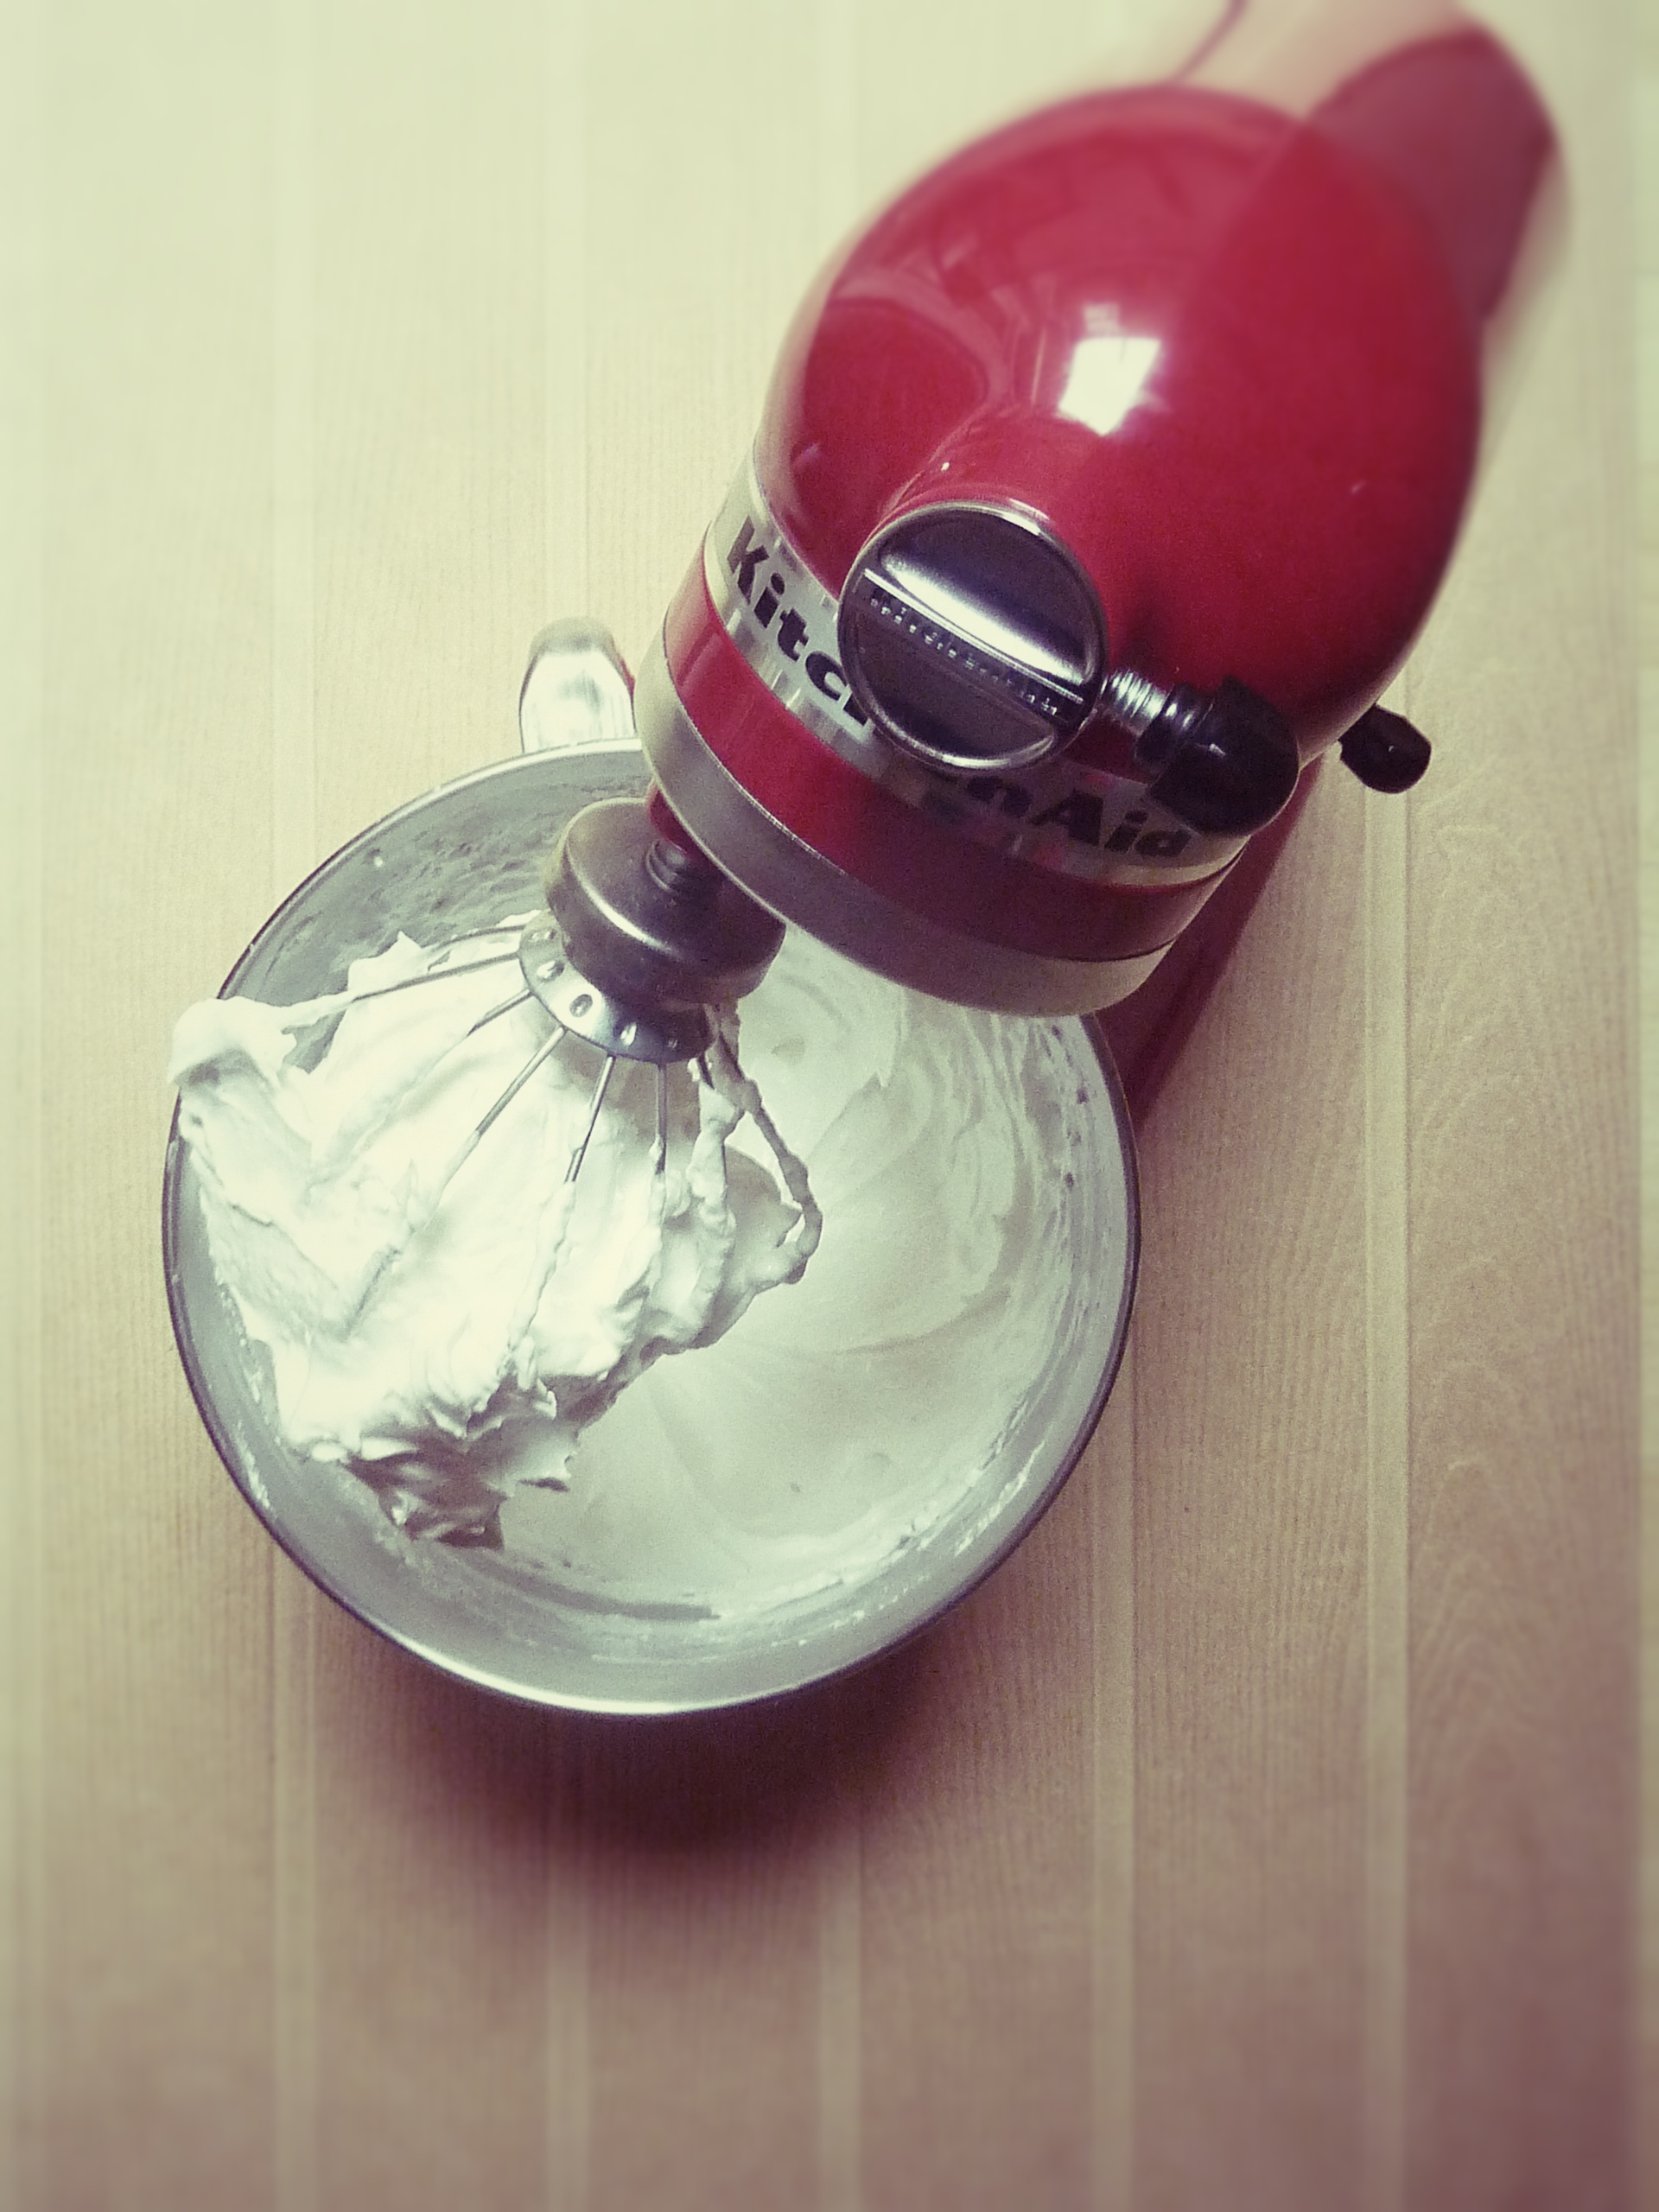
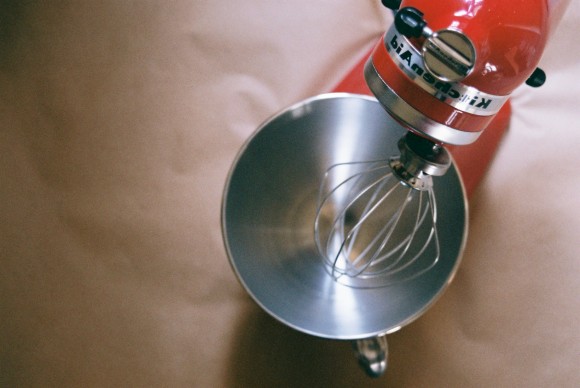
to make the dough place the flour, mixed spice, salt, sugar, butter, egg yolk and lemon zest into the bowl of an electric mixer with a dough hook attachment. Place the warm water in a measuring jug and add the yeast, stir until both are well combined and milk like in consistency. Start the mixer on a slow speed and stream in the yeast and water mixture slowly until all the ingredients come together to form a dough, turn the mixer up a little and knead the dough for around 5 minutes so the butter is well incorporated and the dough smooth and shiny. Add the fruit and mix for a minute to incorporate then turn the dough out onto a well floured work surface.

dough preparation

preparing the buns

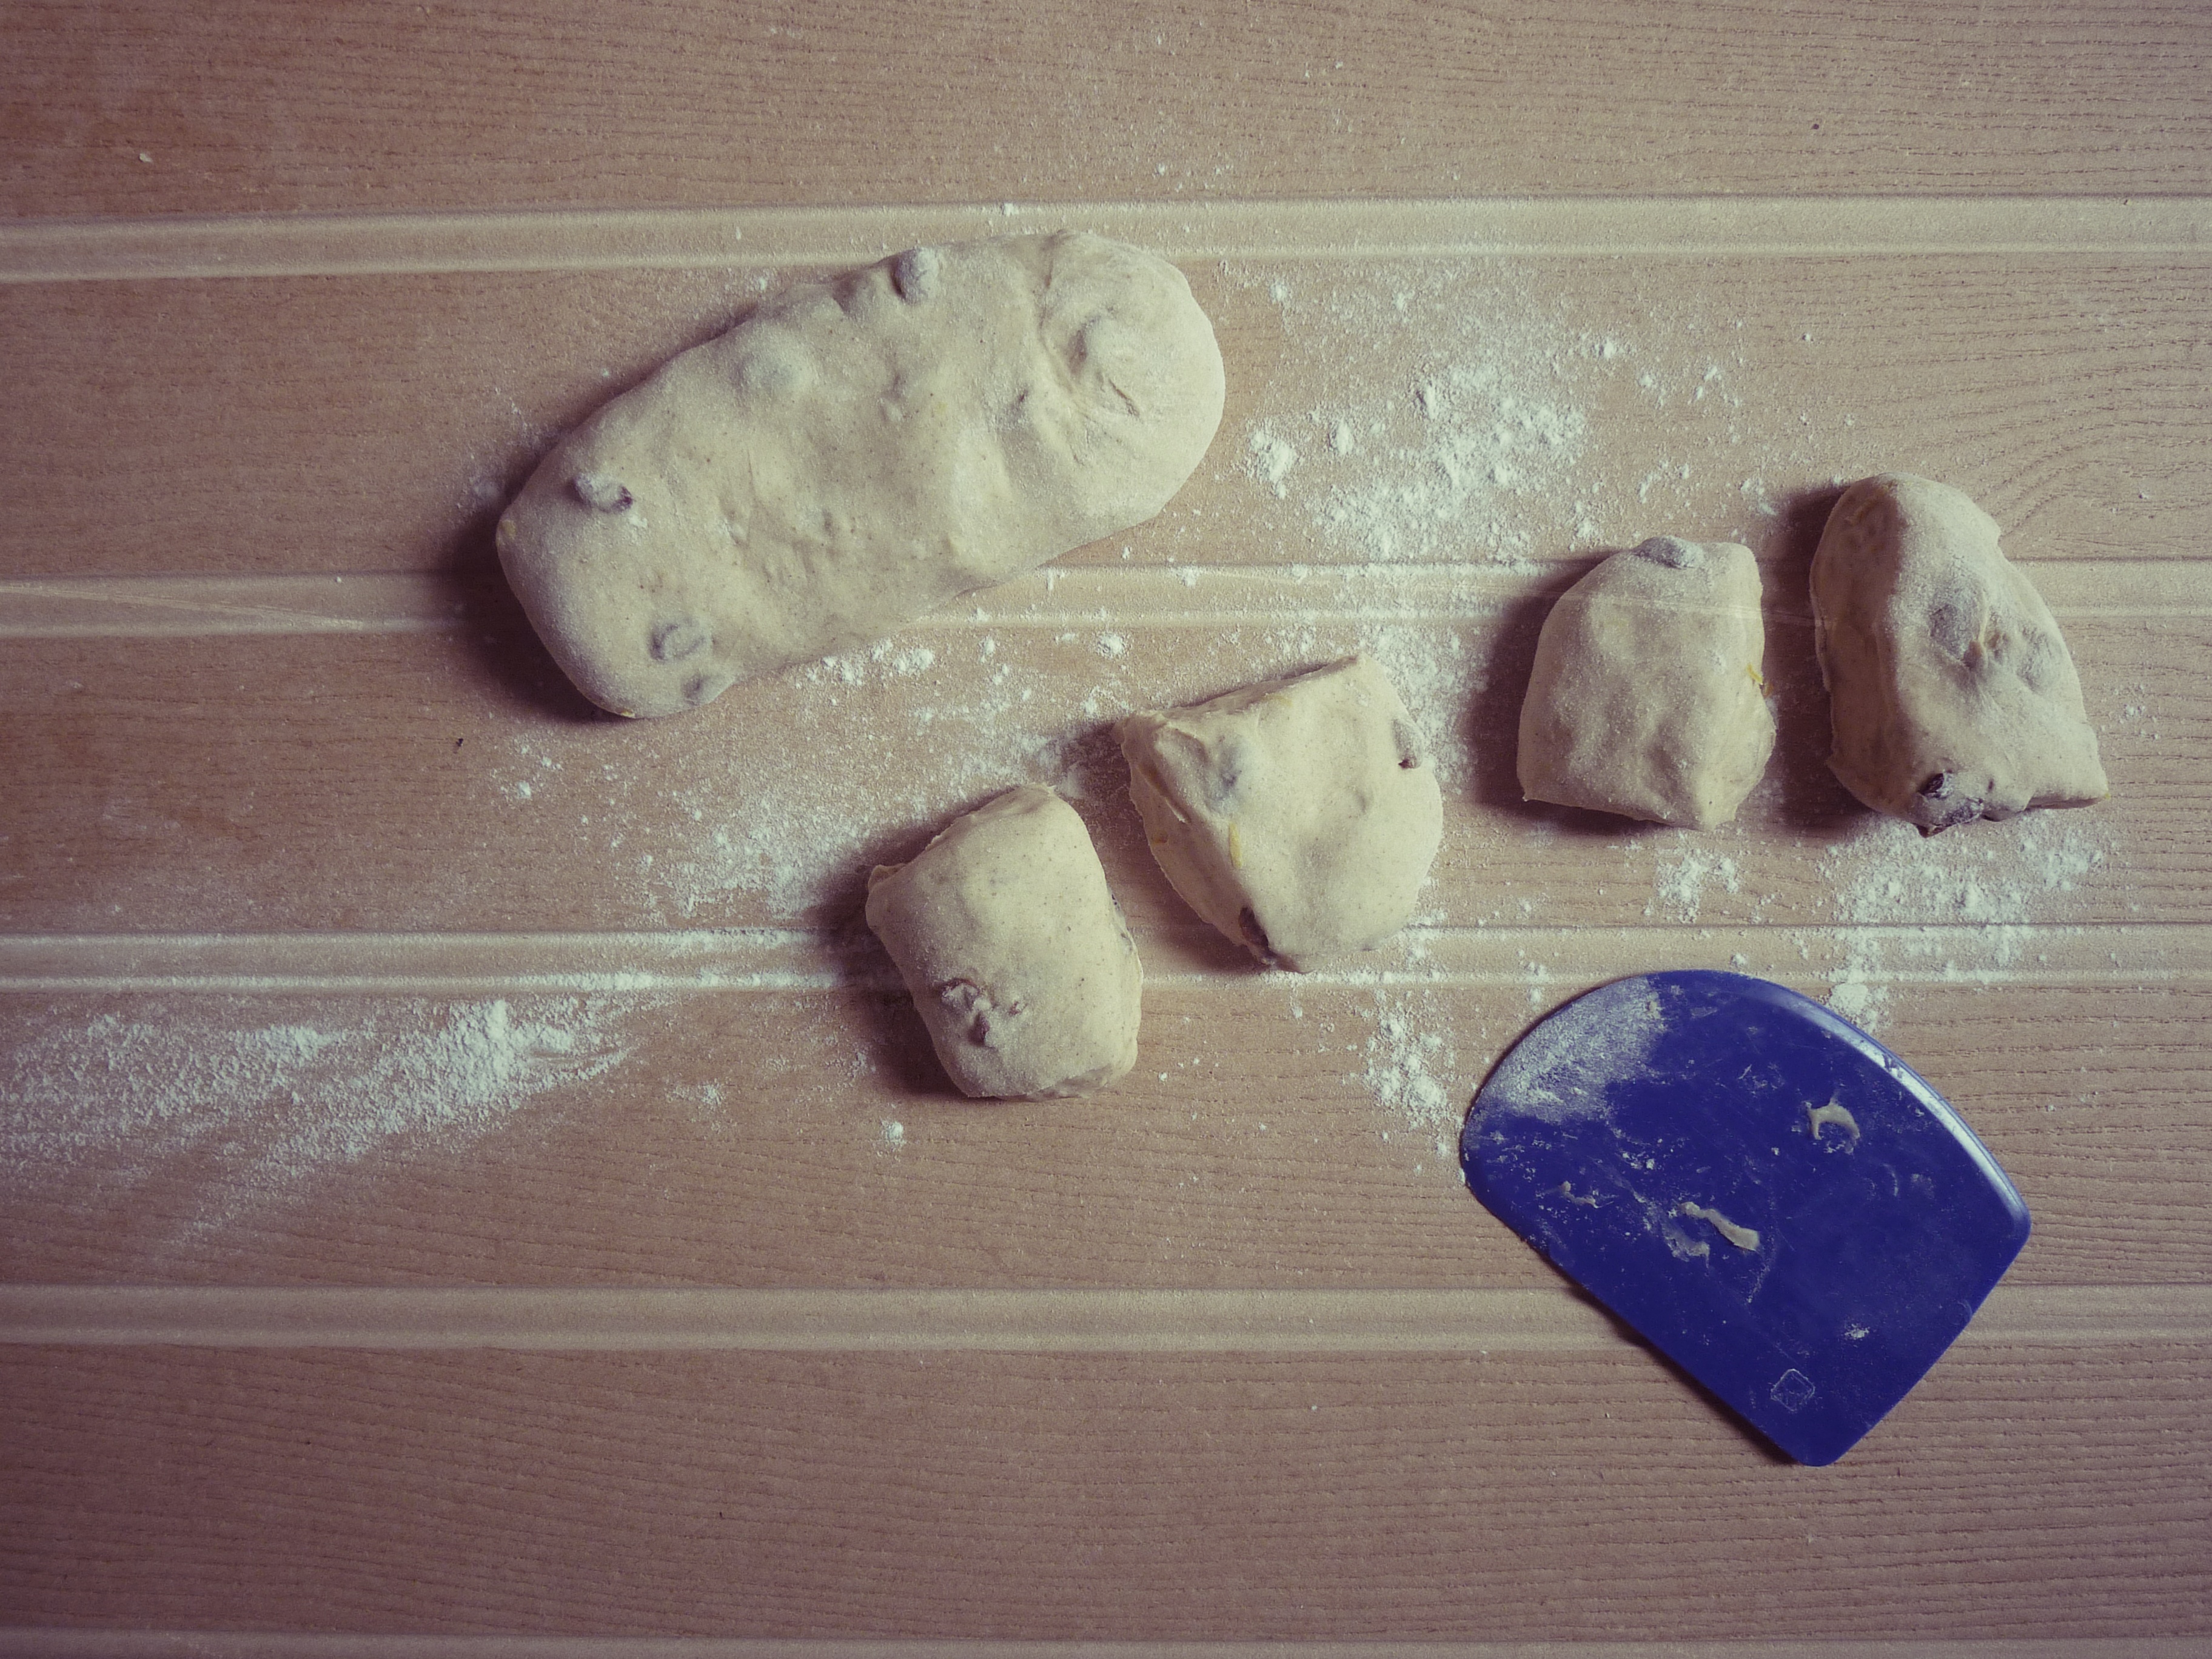
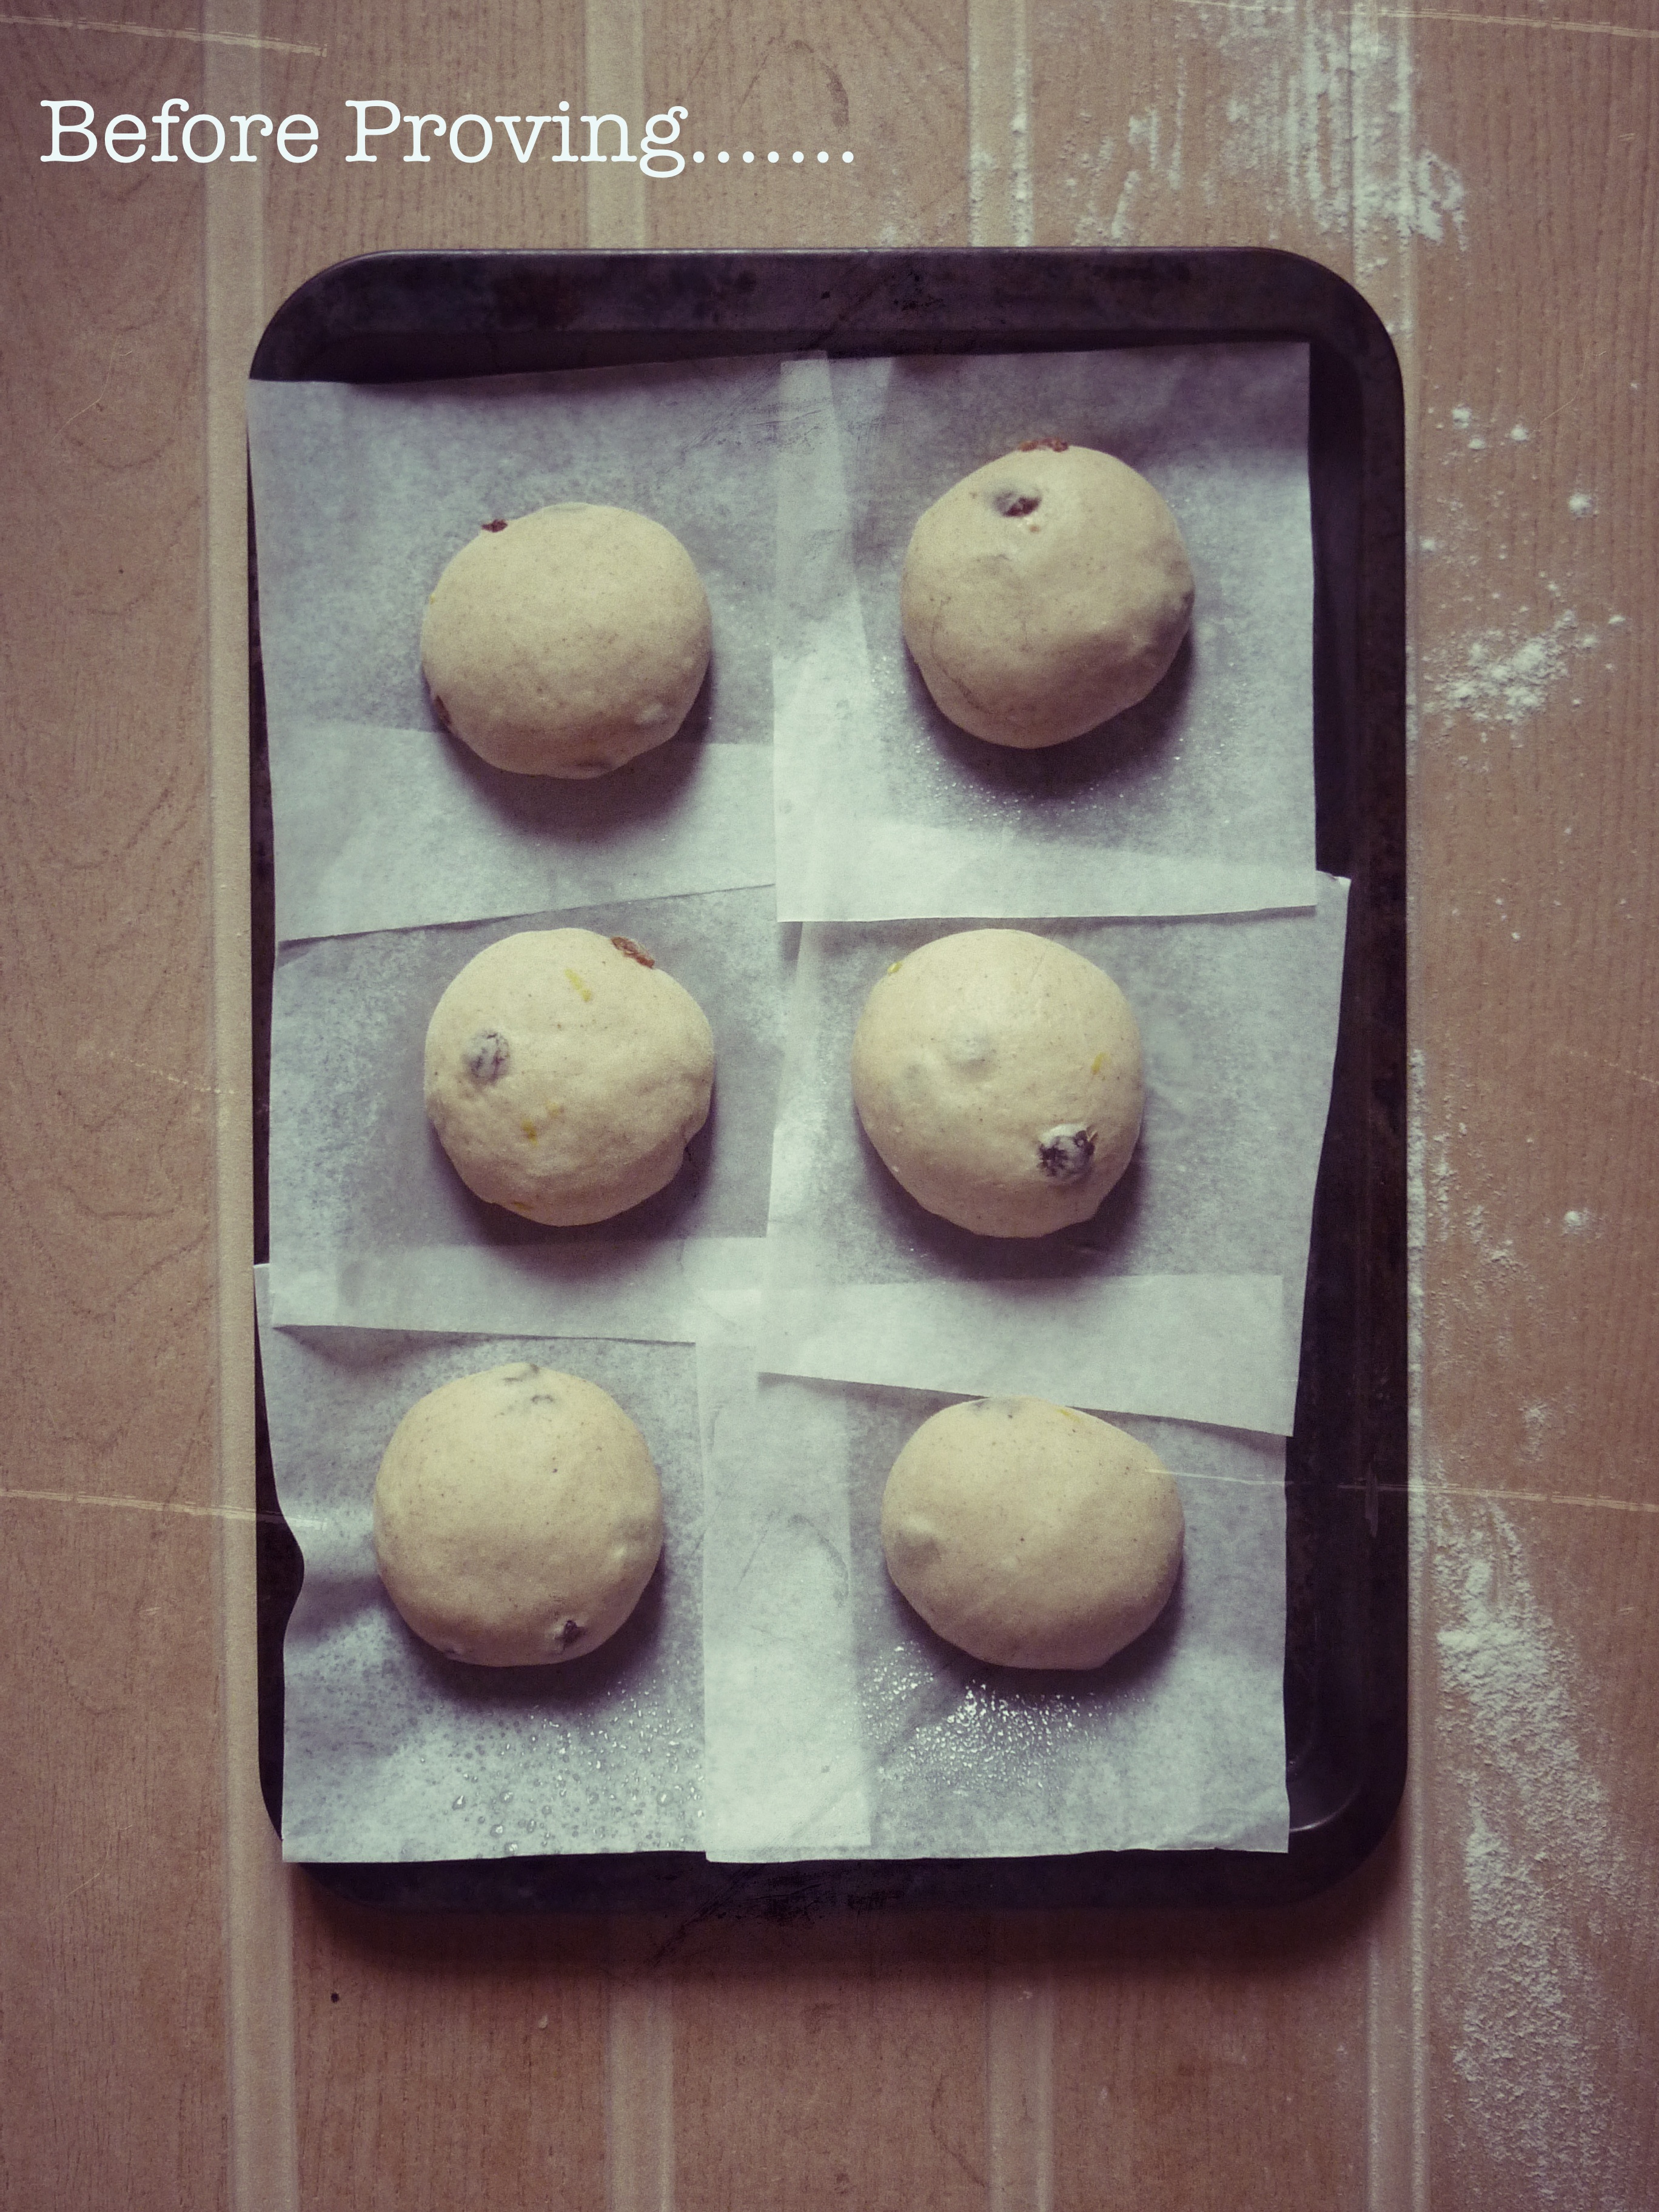
Divide the dough into 8 equal pieces and roll into balls. Place each ball onto it’s own individual square of silicone paper sprayed with a little non stick baking spray to prevent the dough sticking to the paper during proving – this will help later when frying.

Place the dough balls onto a baking tray, cover with cling film and leave them in a warm place to prove for an hour or so until the balls have doubled in size

proving the dough

adding the crosses

Once the buns are proved make the hot cross top by mixing the flour and water together in a bowl. Add the water very slowly until it forms a paste that is thick enough to still hold it’s shape when piped. Transfer the mix to a piping bag, snip a small hole in the end and pipe the mixture in a cross shape on top of each bun. Now the buns are ready to be cooked.

Mix together the sugar and cinnamon in a shallow bowl and set aside. Carefully Heat the oil in a saucepan to a temperature of 160 °C, if you have a deep fat fryer for this all the better, if not take great care when heating oil, it gets HOT! Have some kitchen roll ready to catch any drips and use a heatproof slotted spoon to turn the doughnut and to take it out of the oil safely without burning any fingers! I don’t have a deep fat fryer so heat my oil on the hob using my jam thermometer to measure the temperature. This does fluctuate and for my first batch of doughnuts I cooked them at too high a temperature so they were beautifully golden on the outside but still raw on the inside! As long as the temperature keeps between 160 to 170°C the doughnuts should cook through and be light and fluffy on the inside whilst not colouring too much on the outside. I cooked mine one at a time for 3 to 4 minutes each side, until they were golden and made a hollow sound when tapped, much like how you would test if a loaf of bread is cooked. Once ready transfer the doughnut to the bowl full of sugar and cinnamon and roll the hot cross doughnut so it is completely covered in sugar.

rolling the doughnuts in sugar

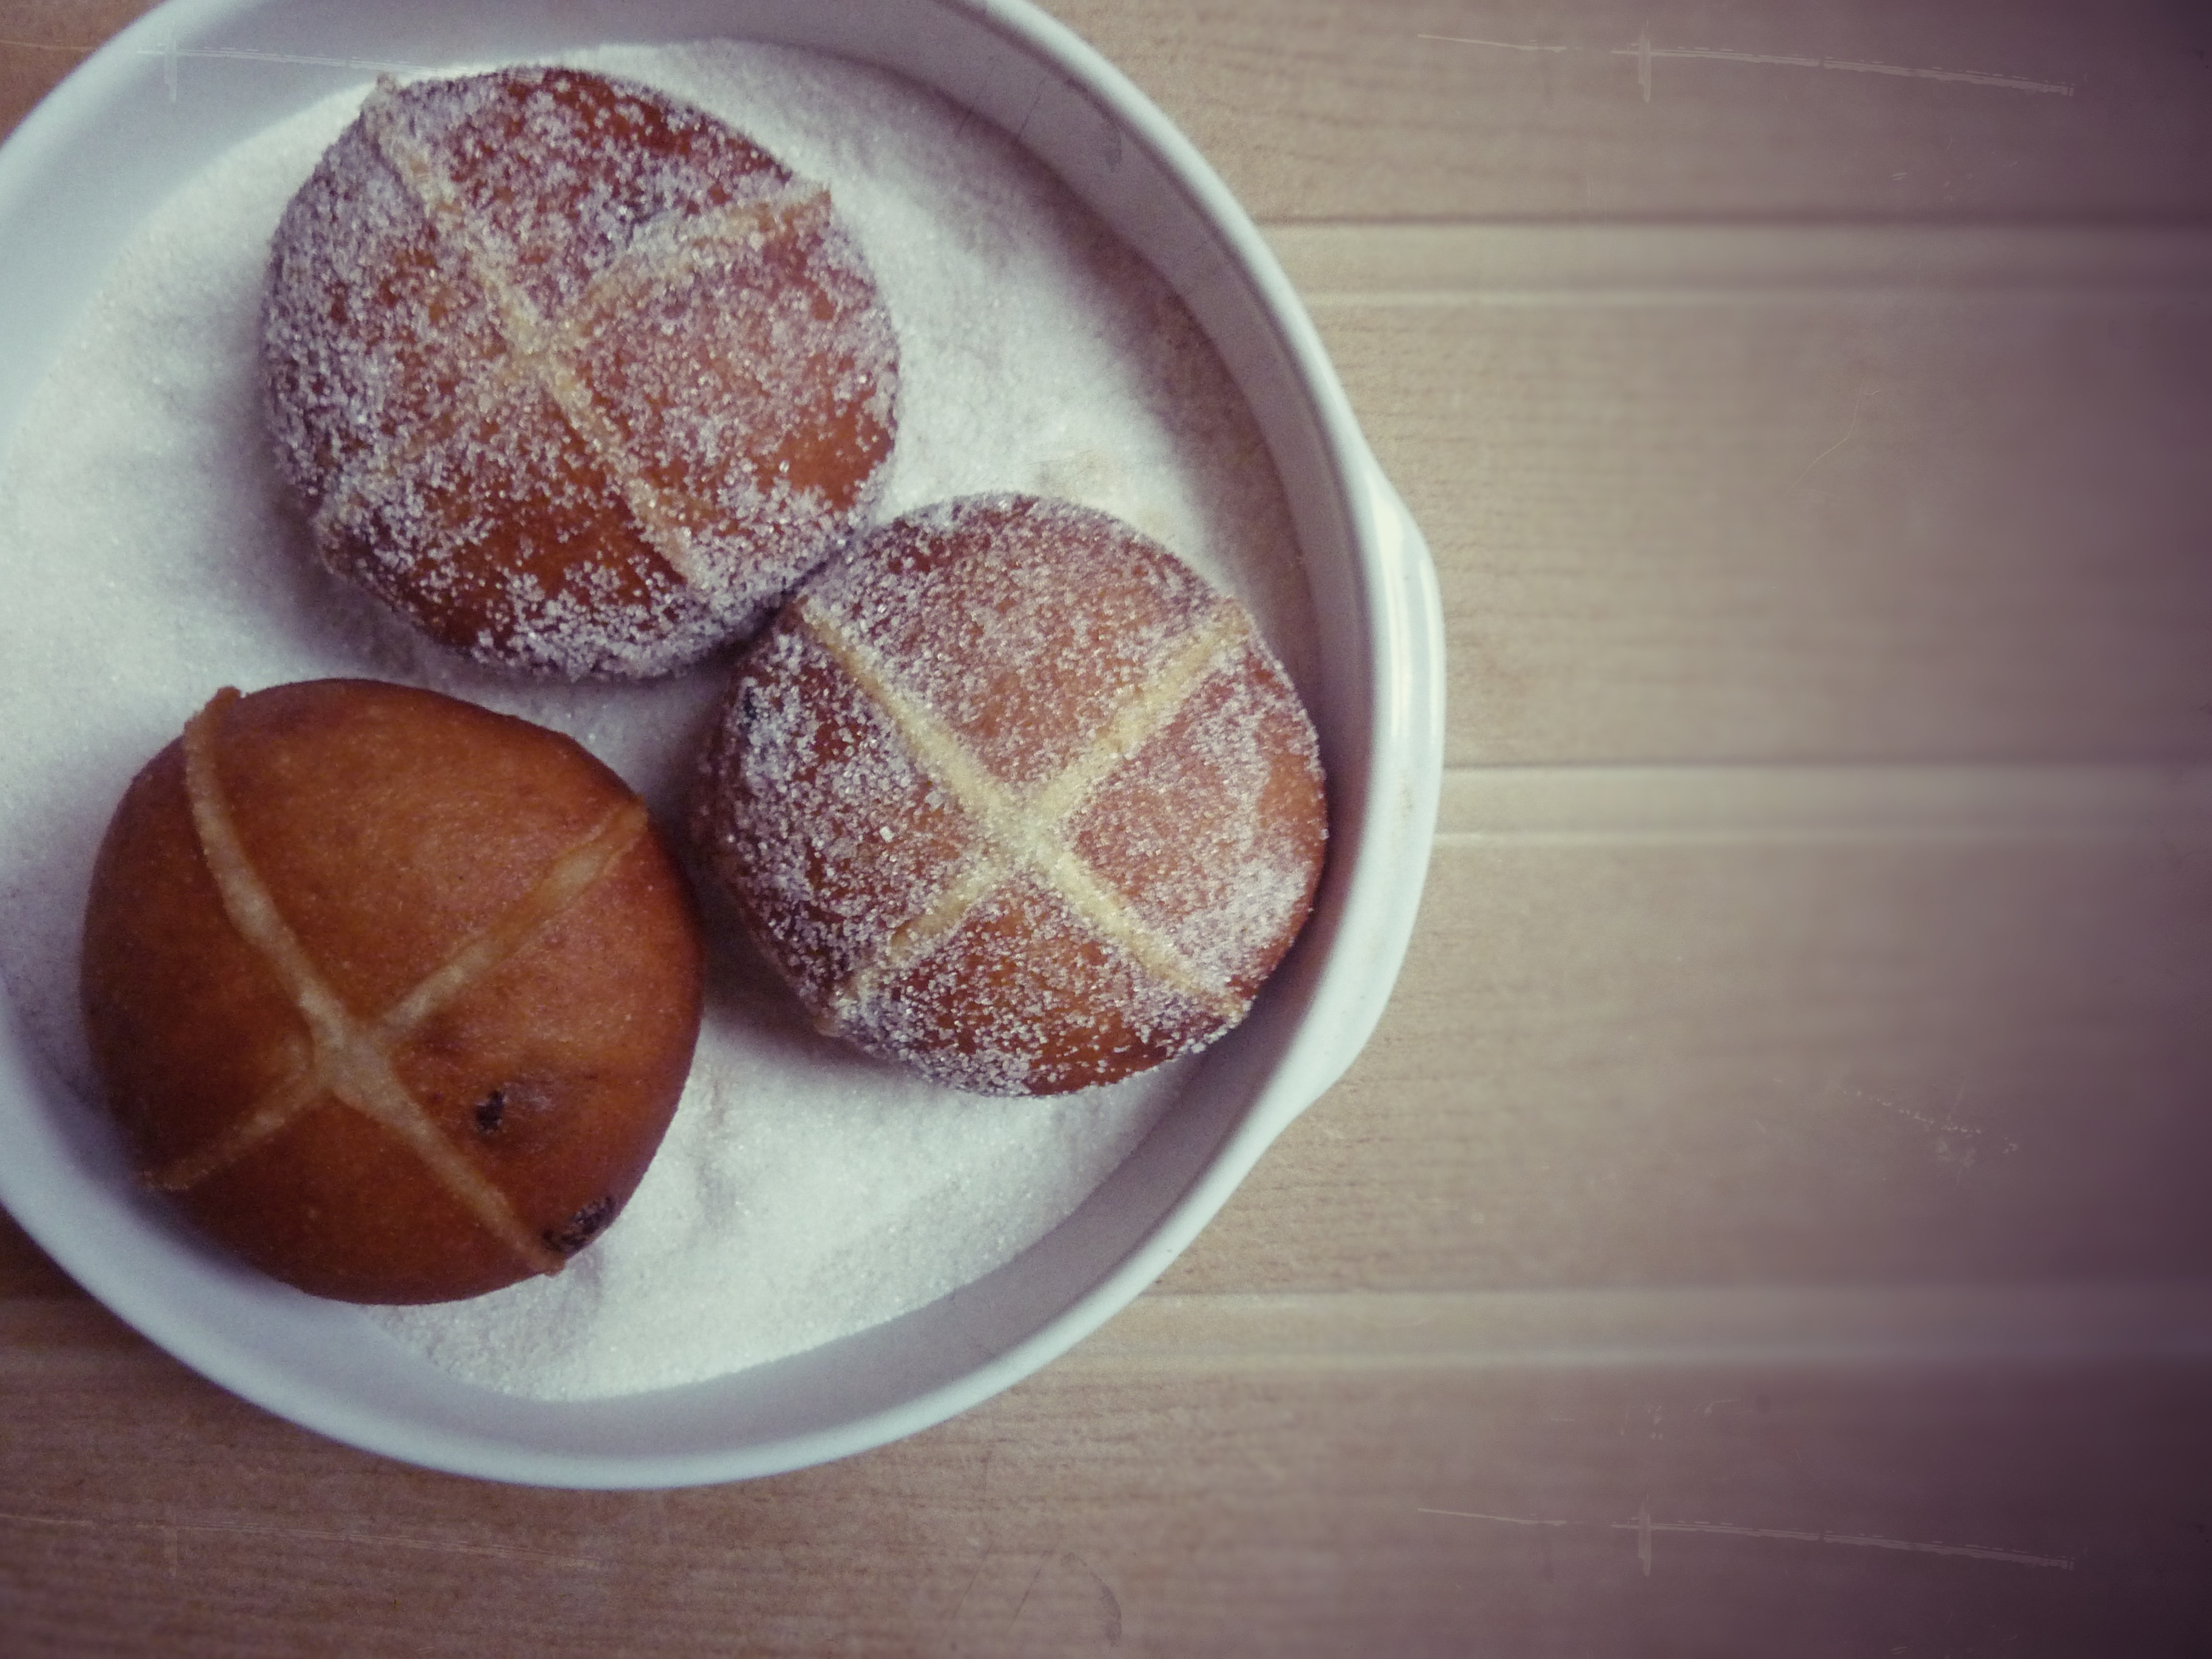
Once the doughnuts are cool it’s time to jam up. I used the last of our rhubarb, raspberry and ginger jam to fill mine, any good raspberry jam should do the trick, and apricot jam would make a rather tasty alternative. Cut a small hole in the side of each doughnut and using a piping bag or spoon fill the doughnut with jam until it bulges and just a little jam seeps out of the hole.

jamming up

hot cross doughnut

Doughnuts really are  best eaten warm and fresh and honestly, the smell is quite irresistible it would be rude not to dive straight in!

When developing this recipe I looked at both a doughnut and a hot cross bun recipe and merged the two, it’s essentially a hybrid of both and as deep frying is indulgent I decided to bake a few off to see what would happen. Results were good and I can confirm that if you wanted a lighter option, the above recipe can be baked in the oven at 200°C for 15 to 20 minutes until golden brown. Once cooked remove from the oven and glaze with some stem ginger syrup. For baking I would also recommend swapping the water in the dough for warm milk to give a richer, fluffier finish.baked hot cross buns

What are you baking this Easter?

Tagged , , , , , , , , , , , , ,

Bake: Lemon Meringue Layer Cake

The first rule of Clandestine Cake Club is you must bake a cake, so bake we did!

Late into the night after work on a Friday we baked. Sipping on elderflower cordial for B, wine for E and beer for C.

We discussed how to avoid baking disasters, the benefits of having friendly neighbours and places we are planning to visit this year. All whilst whipping up a little Italian meringue….

The next day the cake accompanied us on the Great Central Railway all the way to Loughborough, we were so nervous it would not make it, happily it arrived safely with a little help from Janet, Lynn and Amy!

Here is the recipe for our train traveling cake, our lemon meringue layer cake

ingredients

To bake the cake you will need:

  • three six inch cake tins, greased and base lined with silicone paper
  • 360g unsalted butter at room temperature
  • 360g caster sugar
  • two lemons using the zest of two and the juice of one
  • 6 medium eggs at room temperature
  • 360g self raising flour
  • 2 teaspoons of baking powder
  • a pinch of salt

Pre-heat the oven to 160°C (fan). Sift the flour, baking powder and salt together in a bowl and set aside. Crack the eggs into a measuring jug and mix well with a whisk or fork then set aside. In the bowl of an electric mixer or in a mixing bowl with a hand held mixer cream together the butter, sugar and lemon zest until light and fluffy. Add a good spoonful of flour to the butter and sugar to stabilise the mix then gradually pour in the eggs, very slowly in short bursts and beating well after each addition. If the mix looks likely to split add another spoonful of flour so the mix comes back together. Once all the eggs are well incorporated add the remaining flour and mix until you have a smooth mixture. Lastly fold in the lemon juice with a spatular.

Divide the mixture evenly between the three cake tins- 420 grams to each tin if you want to be super accurate! Place on the central shelf of the pre-heated oven. Bake for 20-25 minutes until the cake springs back to the touch or a skewer inserted into the centre of the cake comes out clean. Transfer the cakes to a cooling rack and leave to cool for 10-15minutes, then turn the cakes out onto the cooling rack and leave to cool completely. We only had two cake tins between us so baked our cakes in two batches, this meant the batter for our third cake stood around for about half an hour before being baked but this didn’t seem to affect the end result too much

Whilst the cakes are cooling prepare the ingredients for filling the cake and making the italian meringue……

cake assembling tools

To make the italian meringue you will need

  • 6 medium eggs at room temperature
  • 360g caster sugar
  • roughly 100ml water
  • jam thermometera really useful bit of kit for the kitchen, worth investing in if you don’t have one

To assemble the cake you will need

  • 50g meringues- homemade or bought
  • 120g good and zesty lemon curd
  • A blow torch, not essential but does add theatre to the finished cake

Italian meringue uses the same ingredients as the more familiar french meringue but in slightly different proportions and method. The sugar is boiled to soft crack then poured into the whipped egg whites to cook them. It’s absolutely delicious as a cake topping and can be used as a base for frozen parfaits and macarons. We made our Italian meringue in a kitchen aid mixer, i’ve made it before with a handheld mixer with some success though it did get messy, and boiling sugar must be treated with care! All this being said its quick and simple to make…..

Begin by placing the sugar into a saucepan then slowly pour in the water until it just covers the sugar. All the sugar must be below the waterline, so if any granules sneak up the side of the pan use a pastry brush dipped in water to brush them back down into the water – this will help ensure the sugar does not crystallise as it is heated. Place the thermometer into the pan and heat the sugar so it comes to a rolling boil. Meanwhile separate the eggs, place the whites into the bowl of an electric mixer or into a mixing bowl with a hand held mixer . The yolks can be kept in the fridge for up to 2-3 days, depending on the age of the egg. Save them to make a creme brûlée or custard based pudding at a later date. Whisk the egg whites to a soft peak, once this is achieved stop whisking. Heat the sugar to a temperature of 116-118°C then begin whisking the egg whites again so they come to a stiff peak. Pour the sugar mixture in a steady stream down the side of the bowl into the egg mixture. Once all the sugar is added continue to whip the mixture until it is cool.

italian meringue in the making

The mixture should be glossy and thick, with the consistency of a marshmallow. Set the meringue mix aside whilst assembling the cake.

Place the bottom layer of the cake onto a plate or cake stand and with a palette knife/back of a spoon spread a good layer of lemon curd over the top of the cake and crumble over half of the meringue. Stack the next layer of cake carefully on top and repeat with the lemon curd and meringue then top with the final layer of cake. Spread the italian meringue all over the cake so you have a full even covering then use a blow torch to scorch the cake to give it a burnished toasted marshmallow look.

lemon meringue layer cake

You can see photos of our lemon meringue layer cake in action here, it was rather tasty (If we do say so ourselves!) and along with several other spectacular cakes whent down a storm at the LCCC book launch!

What are you baking this weekend?

Tagged , , , , , , , ,

Do: Cakes and trains – Part 2

IMG_9923

As with any organisation the Clandestine Cake Club has its rules, the main one being – you must make a proper cake!

No muffins, no cupcakes, no brownies – but something you can slice into and share

Founder Lynn Hill explained her theory is sharing cake is a social exercise

People linger around the cakes making their selections, cutting pieces for each other, chatting over recipes… in a way that wouldn’t happen if you just picked up a muffin or two and sat down

IMG_9931

And – as Lynn also pointed out – making an amazing cake and watching people enjoy it makes you (and them!) feel pretty happy…

As we found on Saturday when we took along our lemon meringue cake to Waterstones in Loughborough for their CCC recipe book launch!

IMG_9934

It was lovely chatting with passing shoppers about baking, while they tucked into a slice of the many tasty cakes on offer and leaved through the book

The Loughborough bakers had really put on an amazing spread to tempt people towards the stand…

IMG_9924collage cake 2

IMG_9926

Obviously we couldn’t resist tasting a few of the cakes too – all delicious, but we decided our favourite was the cardamon cherry cake made by Anne Currie

And then before we knew it, it was back to the Great Central Railway for us – to catch the last train home to Leicester (at 3.45pm!)

IMG_9954

collage train2

A lovely, lovely day

Do you prefer big cakes to little cupcakes? Are you a member of any cake clubs? Is train really the best way to travel? Tell us all about it!

Tagged , , , , , , , , ,

Bake: Chocolate Panettone pudding

This is a seriously warming winter pudding, I have adapted this from a recipe I used to make when I worked as a pastry chef in an Italian restaurant. My old head Chef, an Italian himself, always put this dish on the menu from December through to Febuary to help beat the winter blues.

Here’s what you will need……

what you need

And of course…………

the essential ingredient

I still had 3 little panettone left over from Christmas that was turning a little stale and needed to be used up. If you didn’t have any panettone, leftover bread would work just as well or to make a seriously indulgent pudding try layering croissant and bread togrther. It’s best to use bread that’s a little stale as fresh can result in a soggy pudding.

My little panettone fitted perfectly into some cake rings which I made watertight by wrapping foil around the bases, admittedly this is a bit of a faff but I l wanted individual puddings so I could pop a couple in the freezer for  another day. An ovenproof dish would work just as well.

how to make a cake ring watertight

how to make a cake ring watertight

Pre-heat your oven to 130°C- Bread and butter pudding needs to be cooked slowly in a baine marie so it stays moist. Whatever dish you are baking the pudding in make sure you have another larger dish or roasting tray that the pudding will fit into so you can fill it with water later.

To make the custard bring the milk and cream just to the boil then add the chocolate, sugar and butter and whisk well until all the chocolate is melted. Whisk the eggs together separately then pour them in and whisk to combine. A little splash of whiskey or rum added at this stage works extremely well too!

Layer up the pudding in stages start with a spoonful of custard, then a layer of panettone, then another spoonful of custard, panettone, custard….and so on, until all the panettone is evenly soaked, if there is any custard mix left pour this over the top of the pudding.

The pudding now needs to rest so the custard can soak into the bread, half an hour to an hour should do it, depending on how long you can wait!

Place the puddings into a large roasting tray. Boil the kettle, place the tray on the middle shelf of your pre-heated oven and pour the boiling water into the outer tray so the water comes about half way up the side of the pudding ring/tray. Bake the pudding at 130°C for 50 to 60 minutes, or until the pudding is just set, serve warm with ice cream and/or cream. Yum.

bake at 130 for 50 to 60 minutes

Tagged , , , , ,

My 2012 E

Some of my favourite moments from 2012

January Morocco

cactus in morocco

February Hambleton Hall

narcissus

March  grow

kale

April

blossom

Ranunculus

May comfort food

comfort food

June Jubilee Celebrations

CNV00034

Holkham Beach

Holkham beach

July Road trip

Ambleside

August rowing in stratford

Visiting Stratford

Meeting Jen and Kerry

afternoon tea at the White Rabbit

September foraging, jam making and baking

Rhubarb Raspberry and Ginger jam

October infusing and bottling

Chilli, Garlic and Herb olive oil

pumpkin selection


November Clandestine baking

Raspberry Sherbet Bundt cake

Christmas puddings

clementines

December 

Christmas Tree

Homemade Christmas hampers

kitchen aid


Tagged , , , , , , , , , , ,